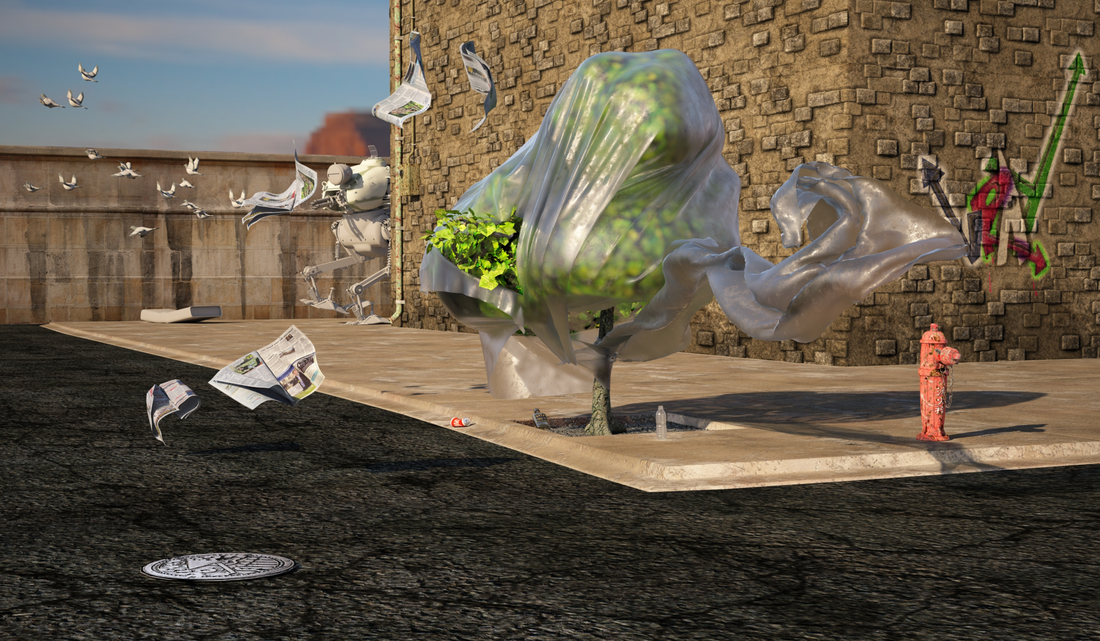
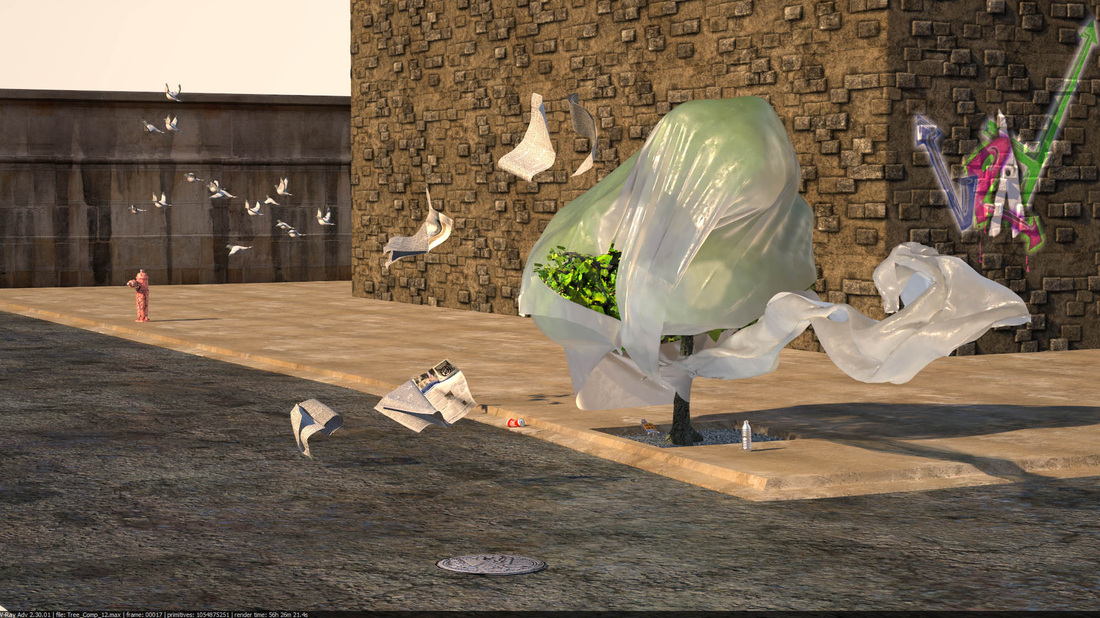
 I have to stop working on this one, but I keep trying to improve it. I know you can't make a silk purse from a sow's ear (but wait... I think you can!! I gotta try something here) time is precious. This started as a simple TEST. I certainly learned a lot from it. I learned V-Ray, and how to optimize my renders. In fact, this went from a 72 hr. render, down to 54 hrs. Last night, with one setting I got it down to 4 hrs. And finally...wait for it 11 F*c%i^G minutes! Am I kidding me? 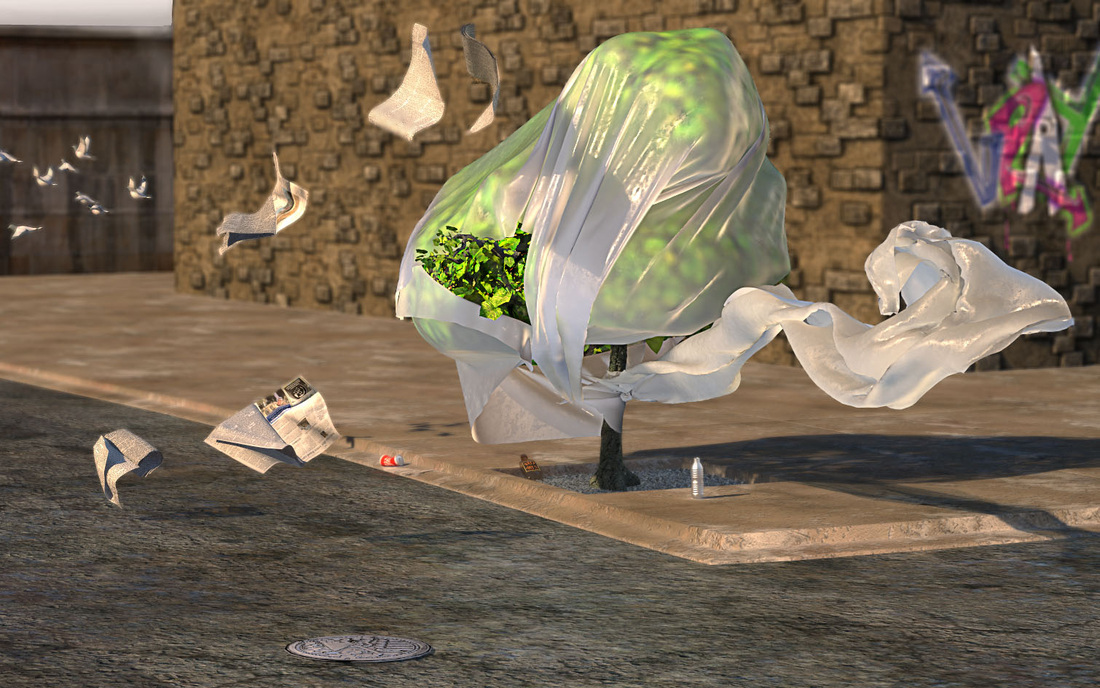 Here's a crop of the 4hr. render. It's not photo-realistic, or even professional looking (Sorry Grant Warwick), but now that I recall this was only a test, I can move on. I think.
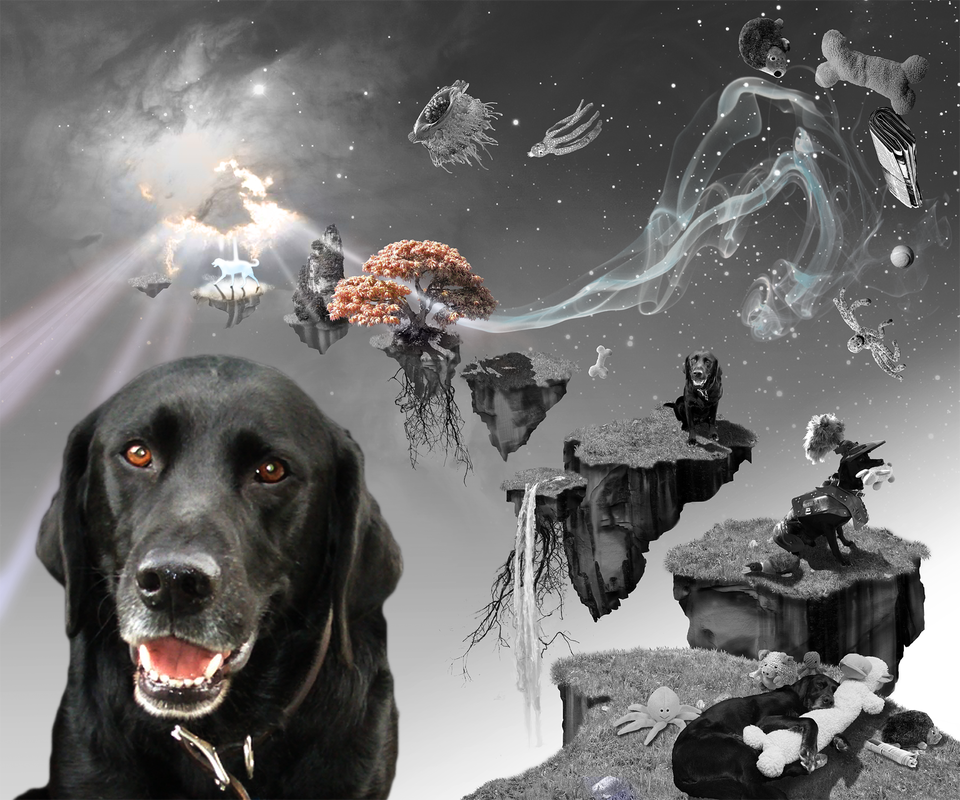 Our perfect little Black Lab, named Nicodemus, suddenly passed away, and my wife wanted me to do a memorial piece for him. This is just a black & white version with a touch of color thrown in for fun.
He loved his toys, fetched the newspaper every morning, never did anything bad and loved to dress up for Halloween. I miss him so much. I like to have an image with each post I do, but I had to pull the plug on my latest render early. i was 32 hrs. into it! That sucks because I can't even use my computer while it's rendering. I've been unable to do any art on it.
For me, any time I use 3DS Max projects take forever. Now with V-Ray it's a long time before I see any real results. This is one reason I love ZBrush. It's immediately gratifying. I miss it. I think when this "test" is over I'm done with Max and V-Ray for awhile. I know V-Ray makes some gorgeous images but it takes so much time to set up. I can't wait for the next version of ZBrush as it will come with Keyshot connectivity! Oh the silly timing of lessons... I've been rolling around like a head with my chicken cut off, and then suddenly I'm shown how to stand? This "Gamma" thing has been just as confusing. There's System Gamma, Input Gamma, Output Gamma, V-Ray has it's Gamma, and you can override it while saving a render! I just want my Gamma! Anyway, here's the same hydrant with Gamma 2.2 applied: 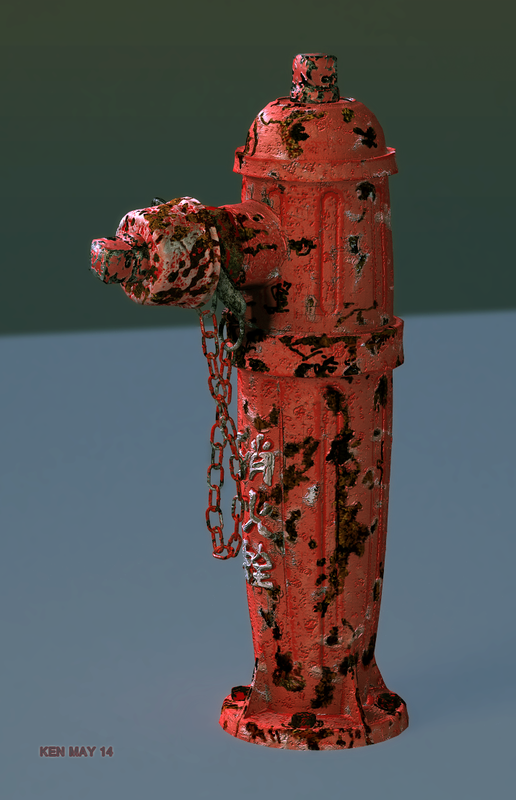 Ugly hydrant I know, but aren't they supposed to be? This one will be in the background of the Tarped Tree image, so the extra detail may help. I have to say, it's been a whole lot of work for that little piece of...an image. But, I have learned some valuable lessons through it all. I've been making progress on the Japanese fire hydrant each day after work, making UV's, maps, and masks. I've also put together a basic test scene in V-Ray to see how it looks rendered. Oh my G, there's a lot of parameters and settings to tweak in V-Ray to get it even close to presentable. Here's where I'm at so far: 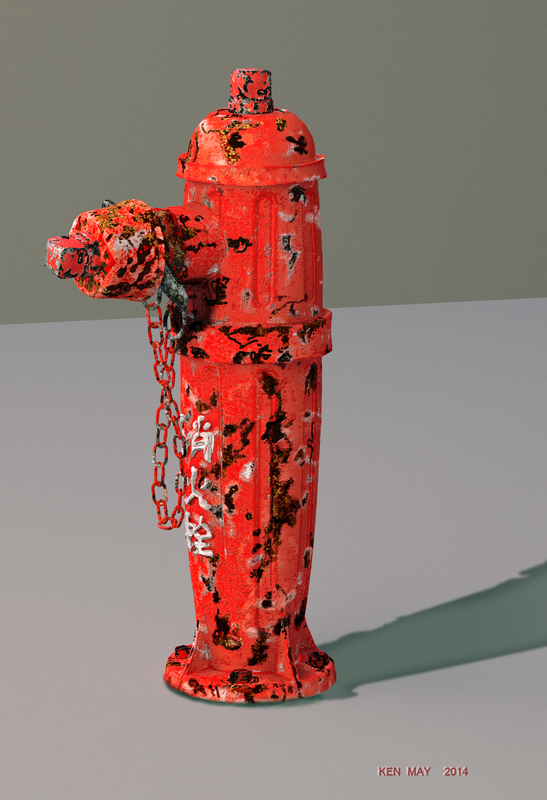
Anyone who does computer graphics knows about polygons and the mesh that is made of them. For those who don't I'm posting these images to show part of the process used to create my 3d images. Below is an image that shows the original Hi resolution mesh I sculpted and the Low res mesh I made as well. Notice all the little squares that make up the hydrant. These are polygons. On the right they are very large and cannot hold much detail. It is these that we push and pull, and slide around to form a shape. Actually it's the tiny points where each line crosses another that you control. The more of them, the more detail you can achieve. look at the samples on the left. At this magnification it's still hard to see them. 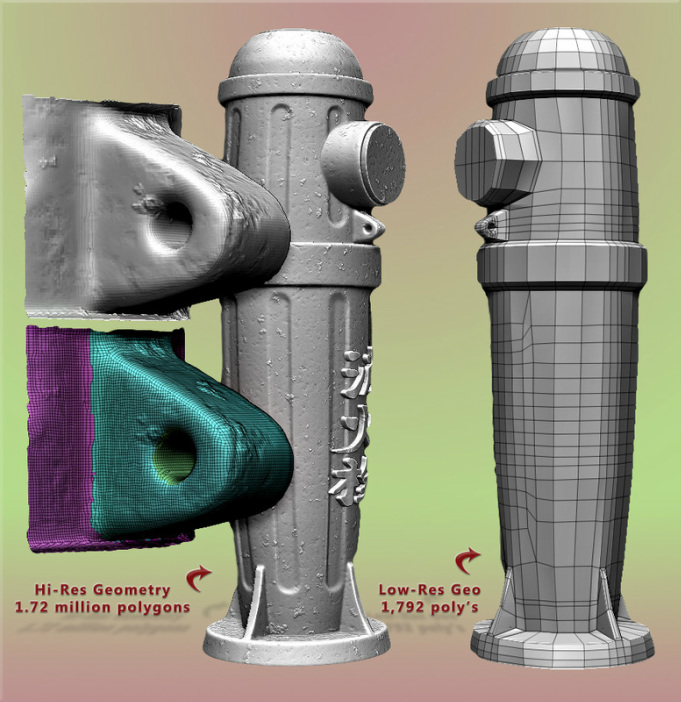 So, why bother making two of the same objects? An object made of 1.72 million poly's slows down the computer. So another mesh is built to accept texture maps that were made on the original Hi res object. These maps bring out all the detail of your sculpt and when wrapped around the lighter, Low Res geometry it appears just as detailed as the original. It's like taking a photo of a killer, designer home and wrapping it around a box in the alley. What a makeover! 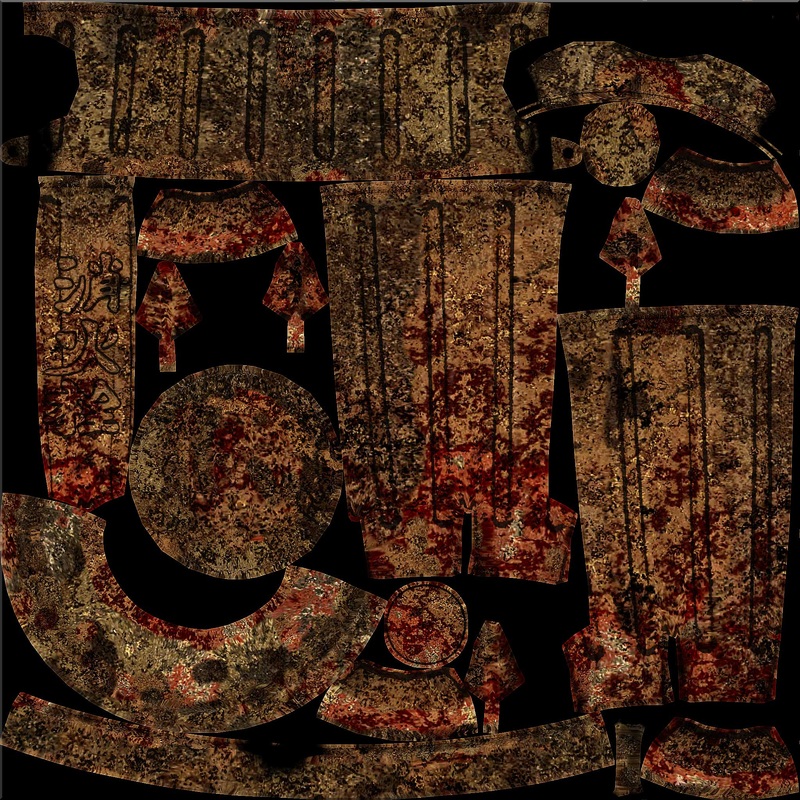 This is my first map. It shows a rusty, grimy surface that will only show through holes in the next map of simulated paint. Those holes will be made to look like chips and scratches in the paint. 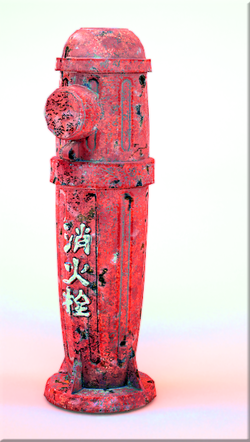 So, here's a small test render I did using these methods. It's just the main body of the fire hydrant, I still have to put all the bolts/valves/handles and chain on. Those parts will all go through the same process individually. This is why I cringed a little when I wanted to add a small detail in the background of my tarped tree image. Sure I can just Photoshop a hydrant in there, but this is what I do - and I just love it! Can't wait for the next "small detail" !! I retopologized the Hydrant last night, making it 260 polygons instead of 1.6 million. I need to bake a normal map and displacement map out so the low poly looks just like the high poly. I need to move on though. These exercises are great practice, but my original intent was to build a transparent material while learning Vray. After I finish the Tarped Tree, I'll get back to the S.W.A.T. Princess and her Jet Pack. 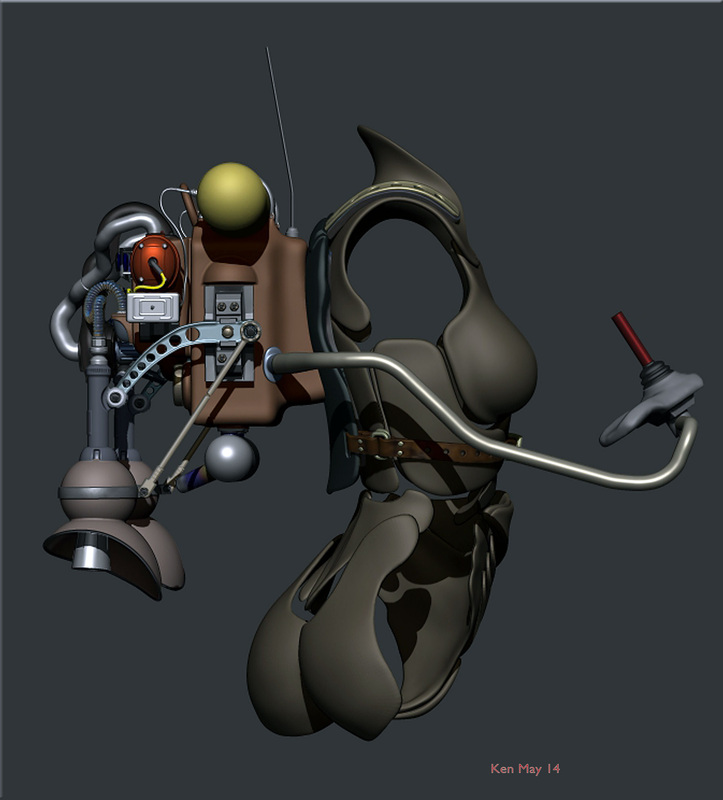 Another project I can get lost in. The Jet Pack has evolved through many styles, and it looks pretty good. It doesn't have enough realism for me. The main body of it needs some panel lines, or cover plates to make it look "assembled", rather than a strange bar of soap. It needs paint and grunge. 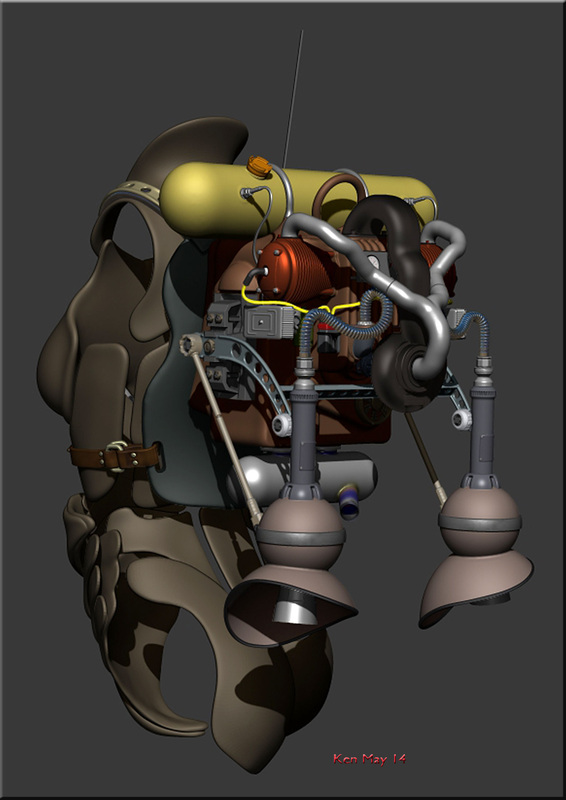 The "Princess" (lame name, I know, but my wife is extremely girly, yet delicate as Kevlar and soft as galvanized nails) was a massive challenge. I enjoy realism but making an accurate figure and creating skin tones of a half Black / half Japanese woman is extremely difficult. I tweaked an existing model that was very stylistic. Puny arms and legs with soft joints...hmm my wife is built like a soldier! I did minimal sculpting on the body but completely changed the face. I haven't gotten close to what I intended. The hair was fun. God I love ZBrush! 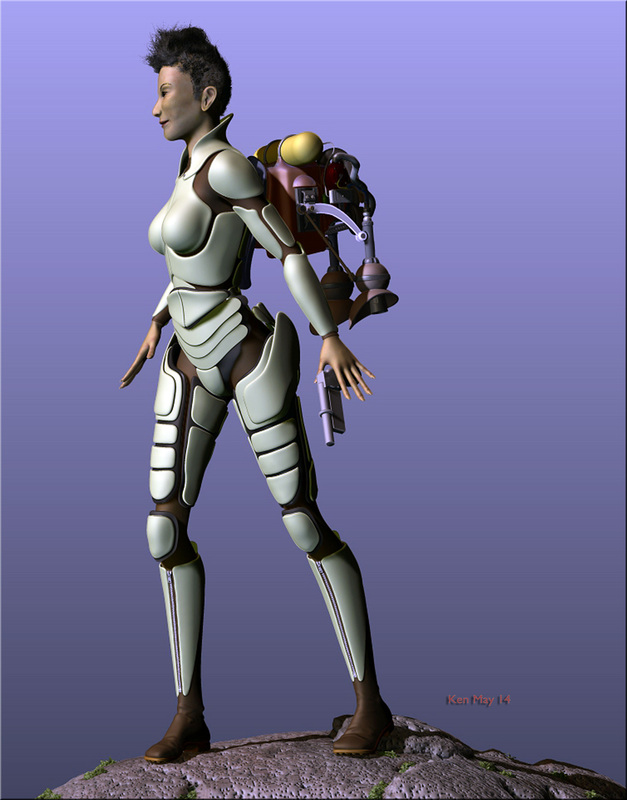 I'm hoping the time spent away from this one will help me improve it now ~ but, at 12 million polys, it won't fit in Vray !
 Here's how it looks after applying scratches and some pitted/bumpy surface noise. It seems crazy to do this much work just to add a small detail in the background of an image. But, it's so fun, and all those bits and dings will catch light and help sell the realism. Plus, if I ever need a Japanese fire hydrant now I've got one!
Going to add a Japanese fire hydrant I modeled last night to my Tarped Tree comp. Modeled in Zbrush, it has a whopping 1.6 million polygons. That's not much really by today's standards, but come on, it's a fire hydrant. 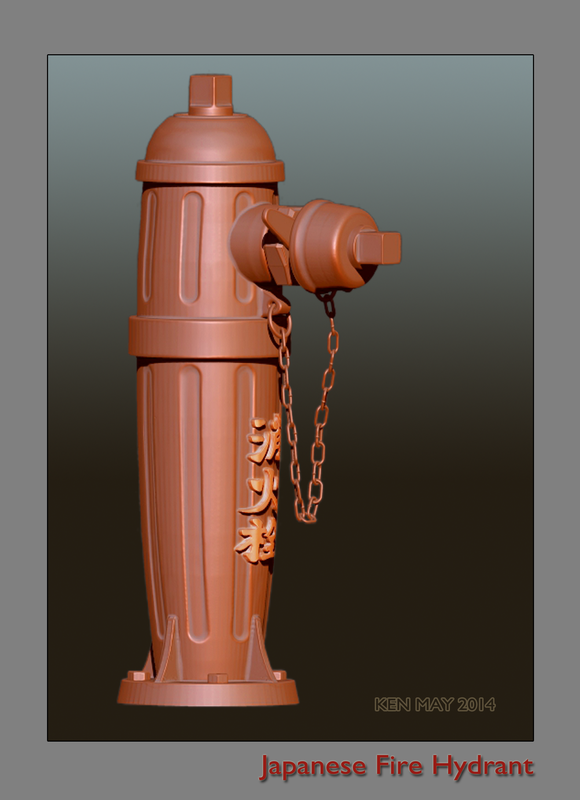
I'll need to retopologize it to get it down to a reasonable resolution, then UV map it so I can paint some textures on it, before I bring it into the tree scene. Can't wait!
| AuthorWrite something about yourself. No need to be fancy, just an overview. ArchivesNovember 2014 Categories |
 RSS Feed